

 OktaHound authenticates to the Okta API using an OAuth 2.0 service application with a public/private key pair.
To create the Okta application registration for OktaHound, follow the steps below.
OktaHound authenticates to the Okta API using an OAuth 2.0 service application with a public/private key pair.
To create the Okta application registration for OktaHound, follow the steps below.
1
Open the Applications page
In the Okta Admin Console, navigate to Applications > Applications and click Create App Integration.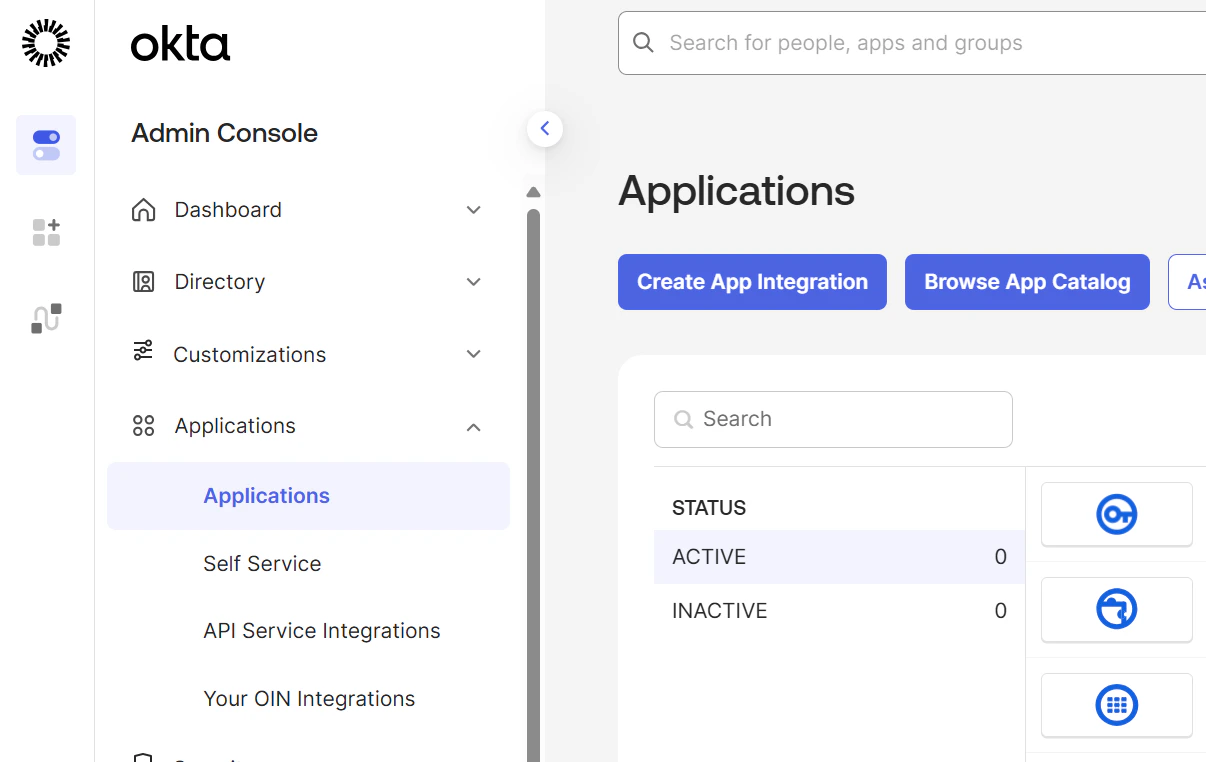
2
Select API Services
In the Create a new app integration dialog, select API Services and click Next.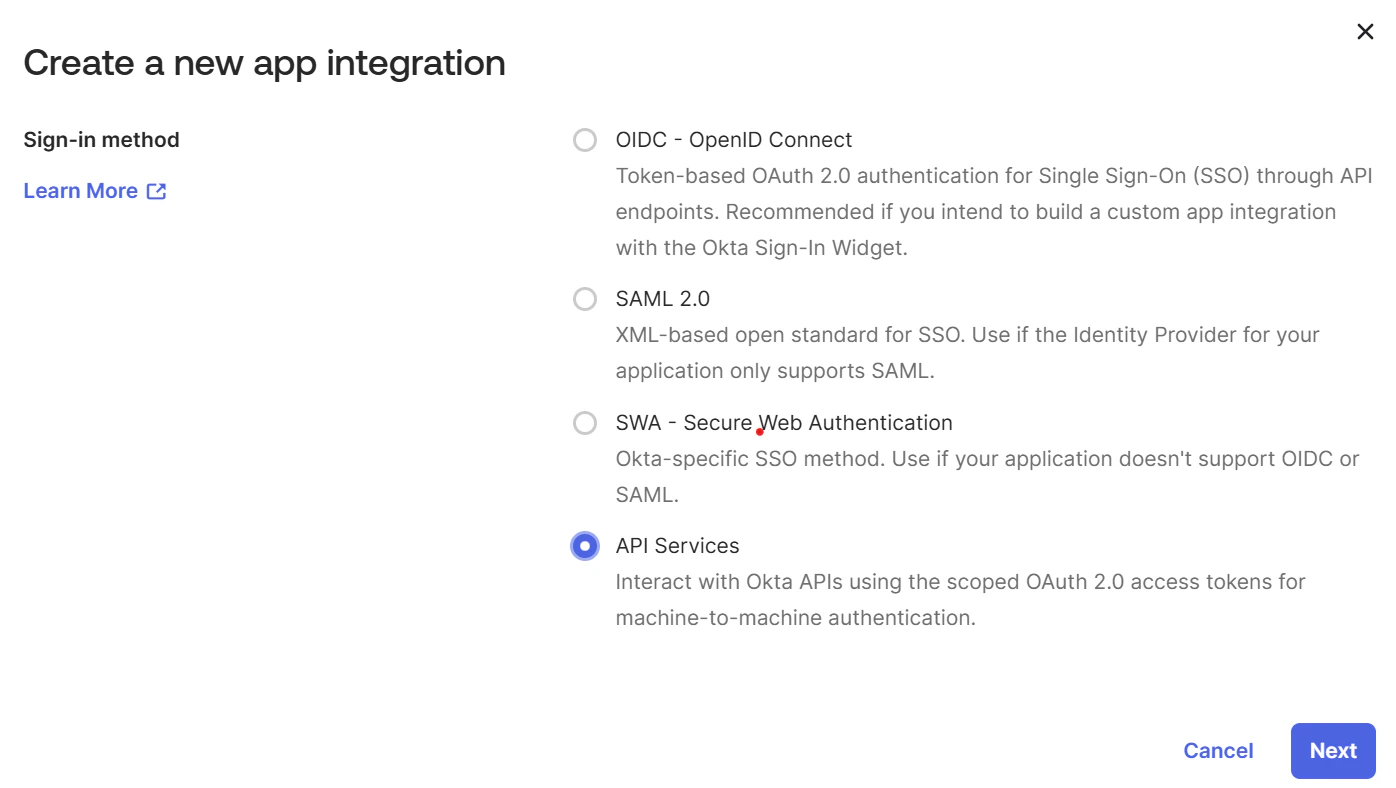
3
Name the application
Enter 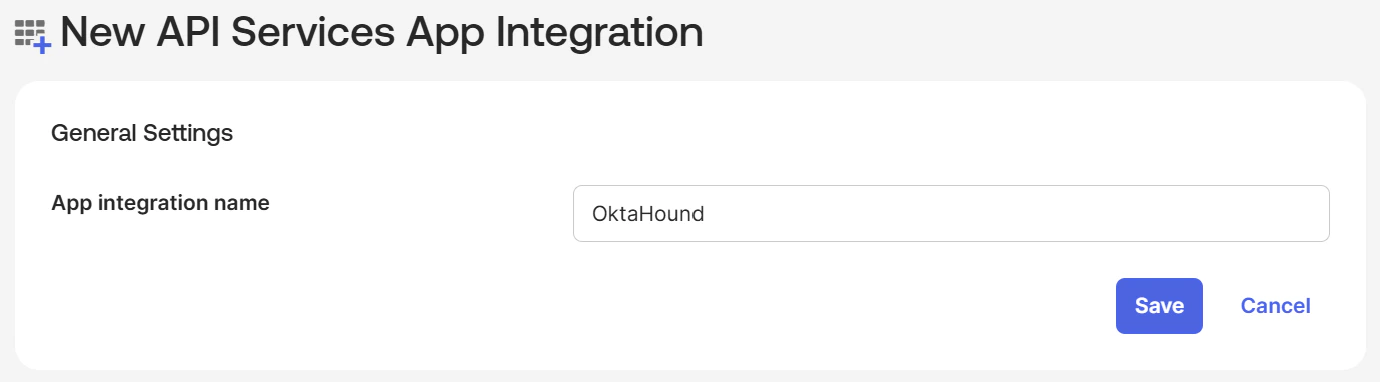
OktaHound as the App integration name and click Save.4
Configure public key authentication
After the application is created, you are taken to the General tab. Make a note of the newly created application’s Client ID for the 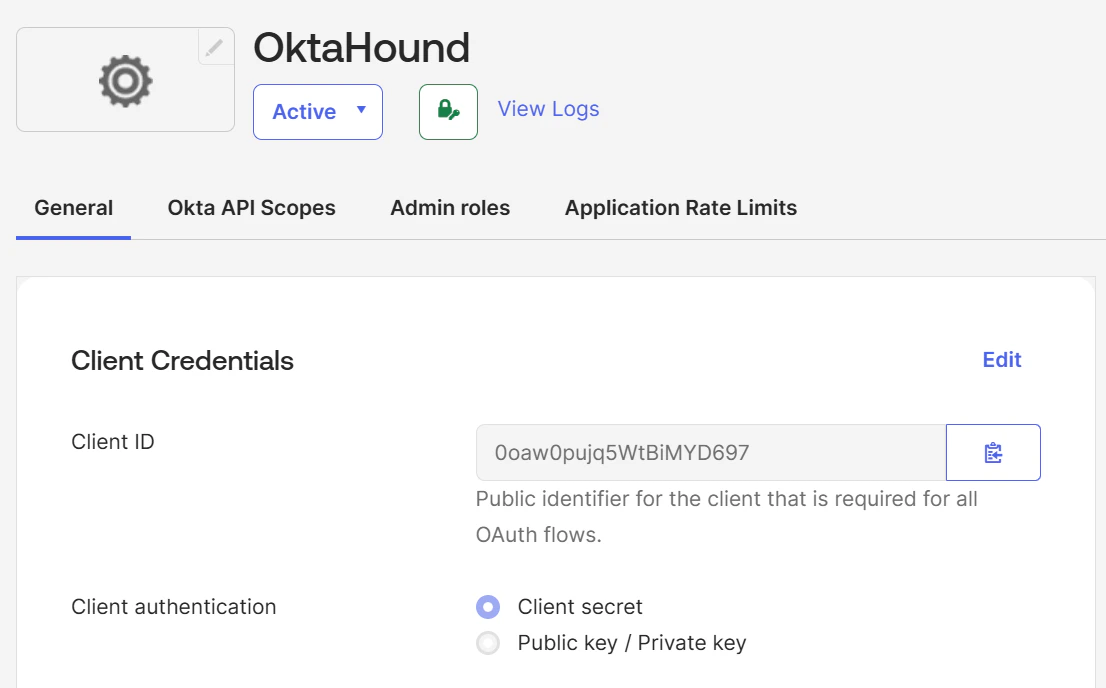
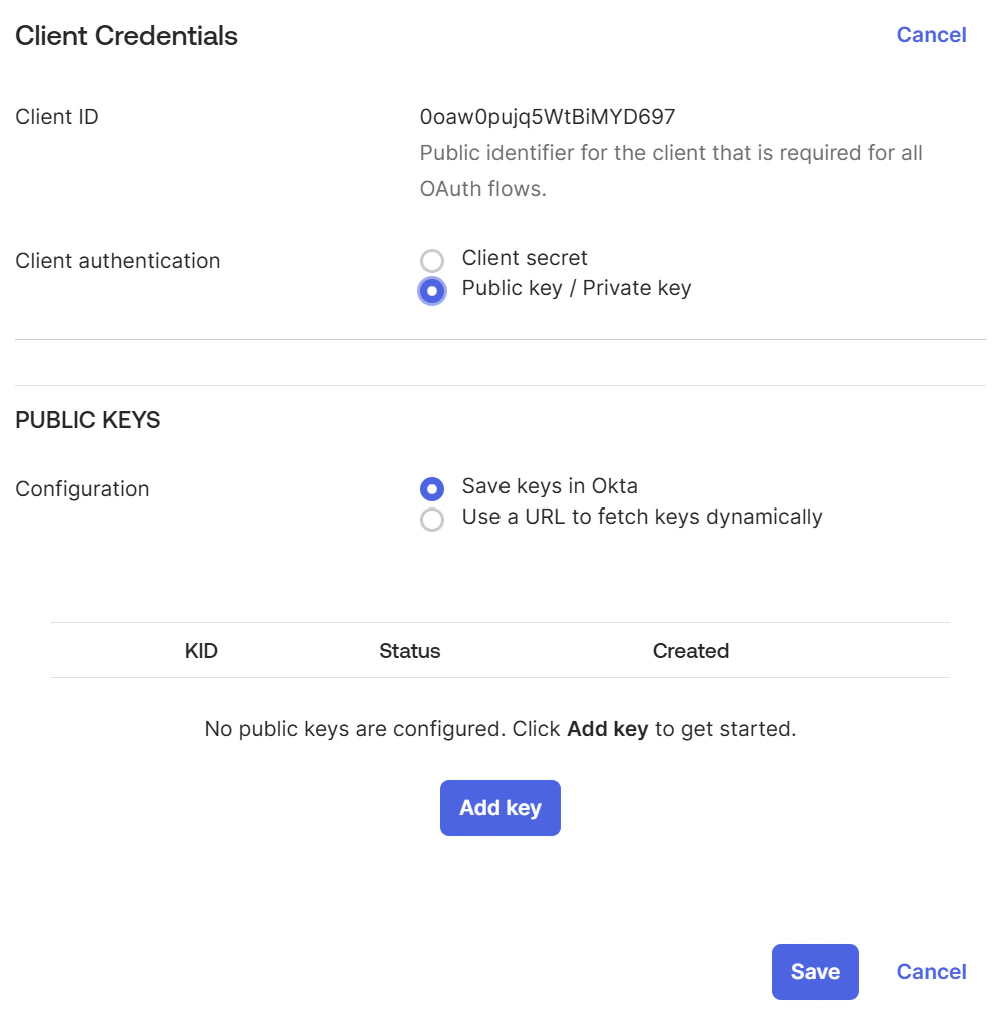
okta.yaml file.5
Generate a key pair
Under PUBLIC KEYS, click Add key, then click Generate new key.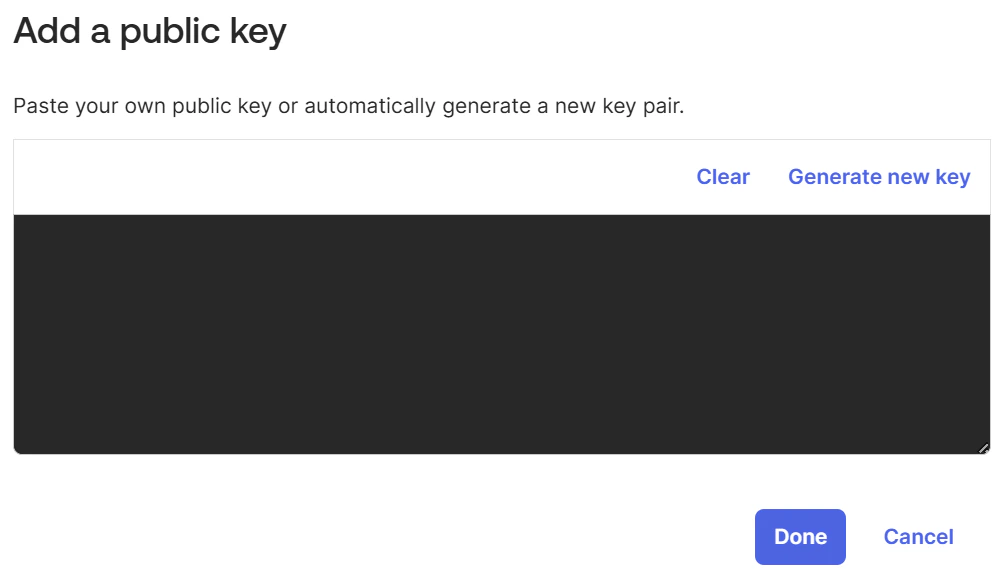
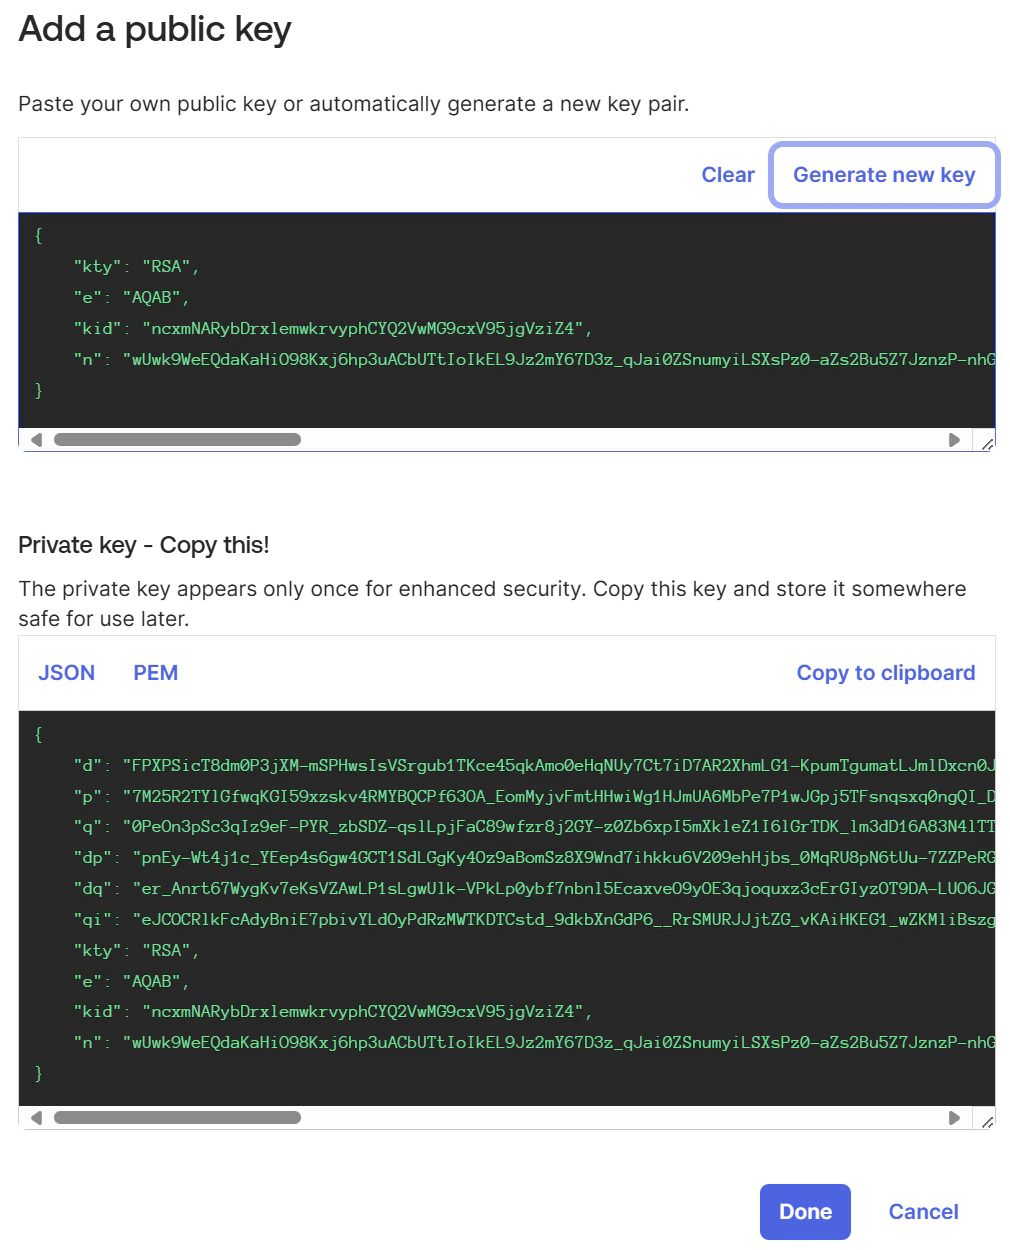
6
Save the credentials
Verify the key appears in the PUBLIC KEYS table, then click Save.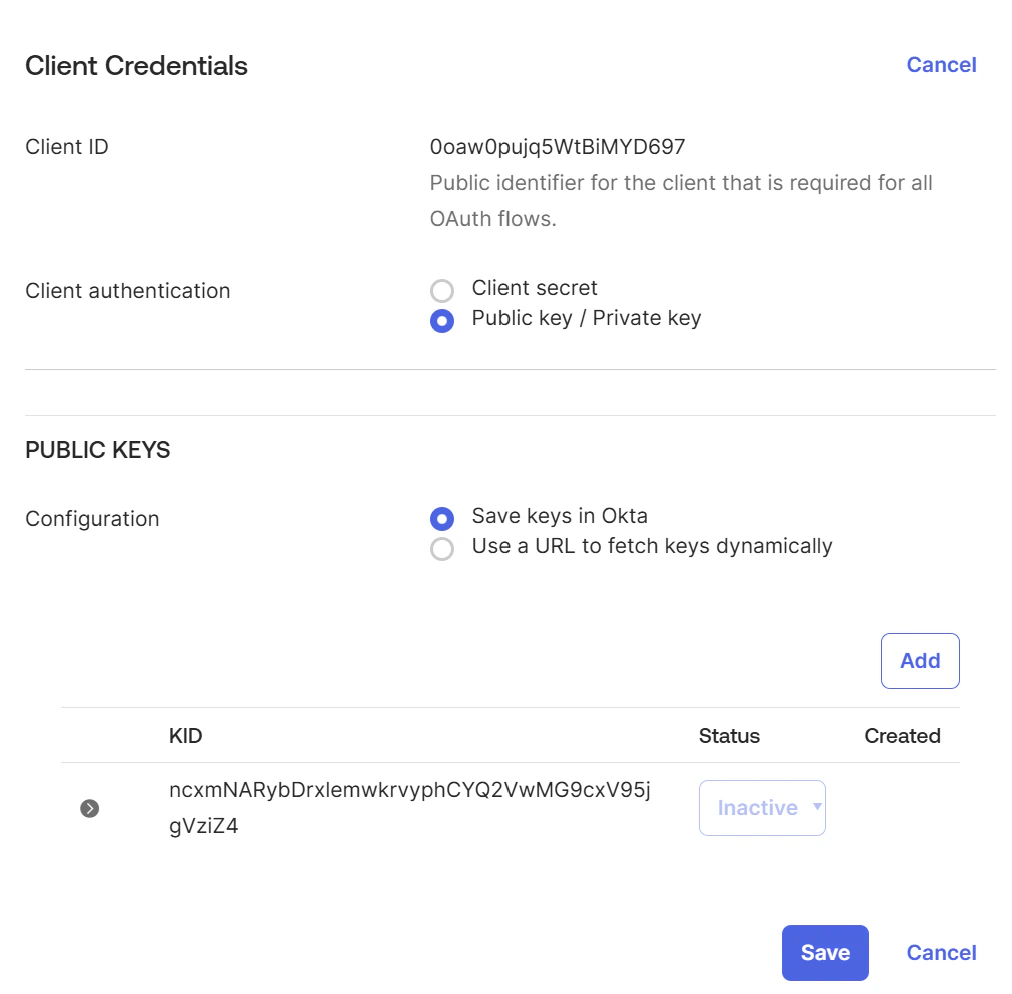
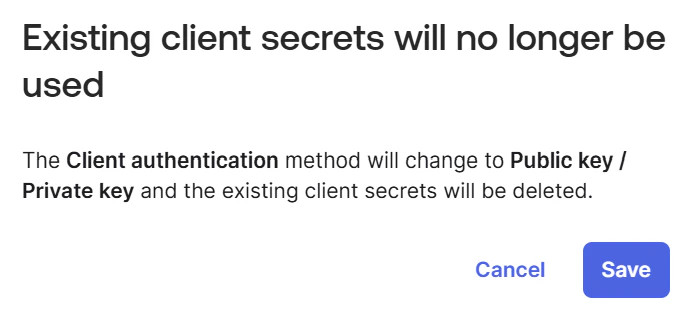
7
Disable DPoP requirement
Uncheck the Require Demonstrating of Proof of Possession (DPoP) option and click Save.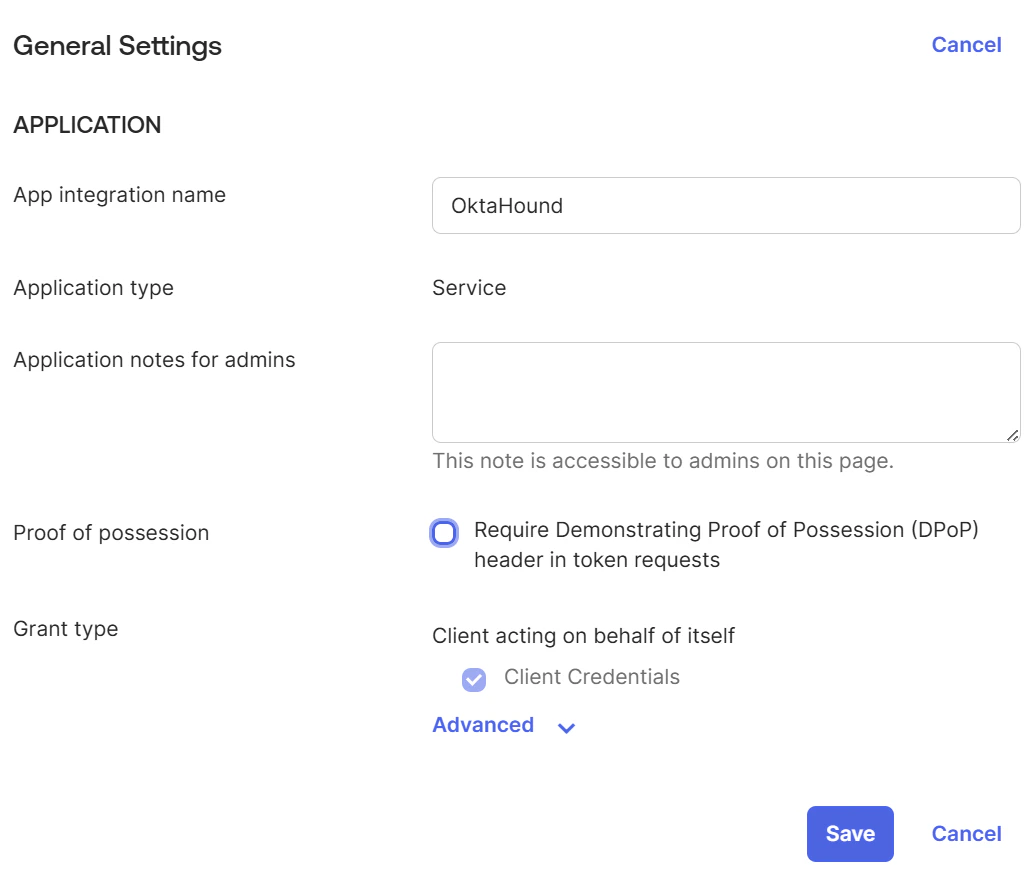
8
Grant OAuth 2.0 scopes
Navigate to the Okta API Scopes tab and grant the scopes required by OktaHound.The Okta application registration used by OktaHound requires the following OAuth 2.0 scopes for data collection to function correctly:
Realm scopes are only available for tenants with the Okta Identity Governance add-on.
9
Assign admin role
Navigate to the Admin roles tab and assign the Super Administrator role.
Less privileged Okta roles currently cannot be used to read role assignments and OAuth 2.0 grants.
Due to the OAuth 2.0 scopes defined above, the OktaHound collector will not be able to modify any data in the Okta organization.