> ## Documentation Index
> Fetch the complete documentation index at: https://specterops-fetch-json-component.mintlify.site/llms.txt
> Use this file to discover all available pages before exploring further.
# SAML: Entra ID Configuration
> This document provides instructions for creating an application within Entra ID for compatibility with BloodHound Enterprise.
export const IDPIntro = ({auth_mode}) => {
const mode = (auth_mode || '').toUpperCase();
const isOIDC = mode === 'OIDC';
const href = isOIDC ? '/manage-bloodhound/auth/oidc' : '/manage-bloodhound/auth/saml';
const label = isOIDC ? 'OIDC' : 'SAML';
return
See {label} in BloodHound for order of operations, general {label} setup, and user configuration in BloodHound.
;
};
 ## Create an Enterprise Application
1. Login to Azure at [https://portal.azure.com](https://portal.azure.com)
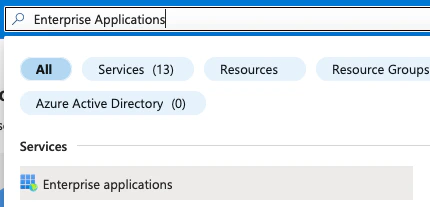
2. Navigate to the **Enterprise Applications** section of Entra ID.
## Create an Enterprise Application
1. Login to Azure at [https://portal.azure.com](https://portal.azure.com)
2. Navigate to the **Enterprise Applications** section of Entra ID.
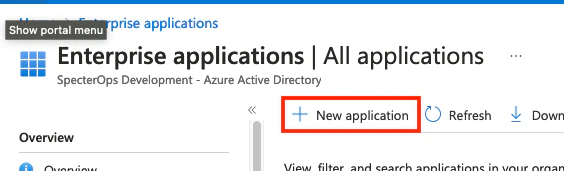
 3. Click **New Application**.
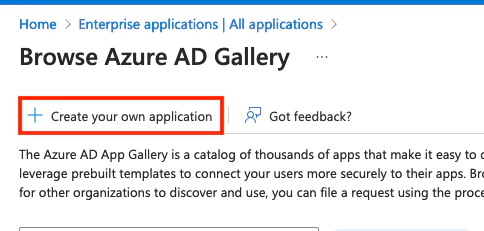
 4. Click **Create your own application**.
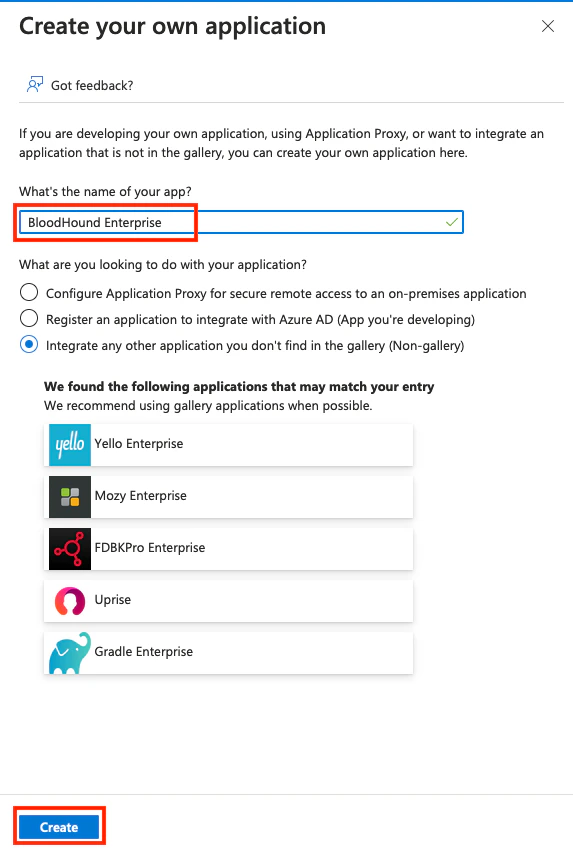
 5. Provide a name for your application and click **Create**.
 ## Configure Single Sign-On Settings
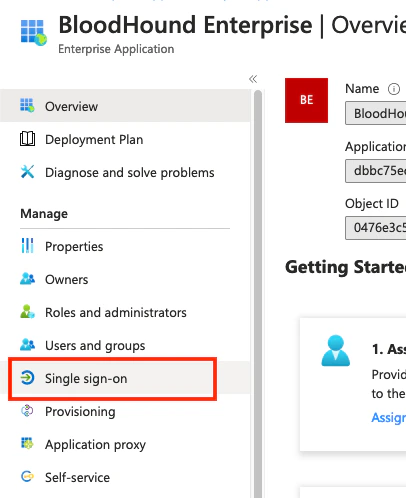
1. Your browser should redirect you to your newly created application. Click on **Single sign-on**.
## Configure Single Sign-On Settings
1. Your browser should redirect you to your newly created application. Click on **Single sign-on**.
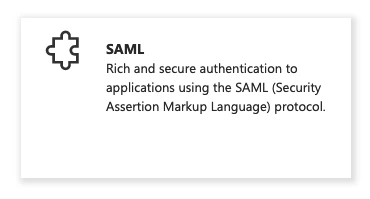
 2. Click on **SAML**.
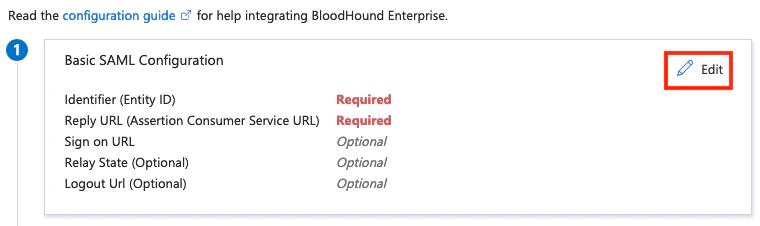
 3. Click **Edit** under the Basic SAML Configuration section.
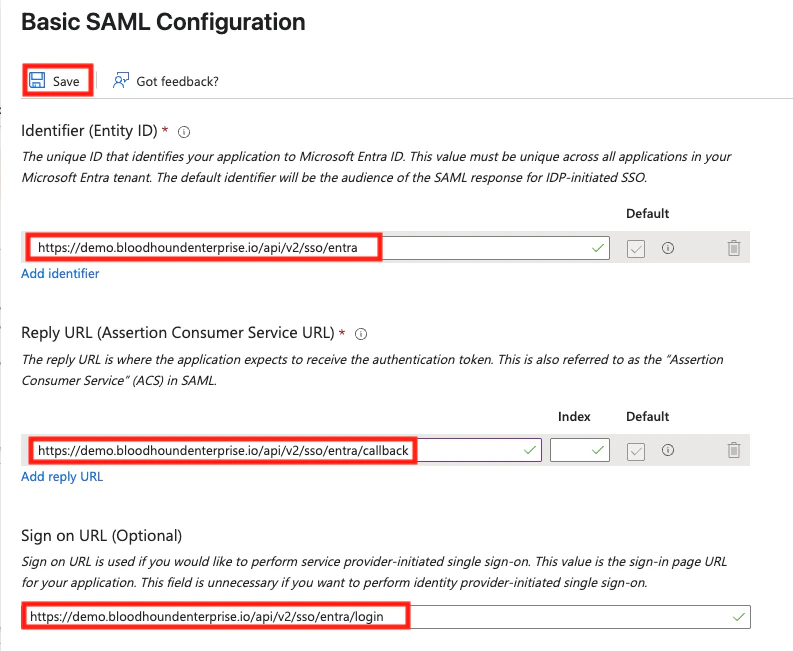
 4. Configure SAML. The following screenshot shows the tenant codename is "demo" and the provider name is "entra".
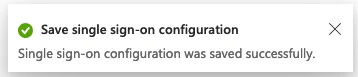
 5. Azure will inform you the settings have saved successfully.
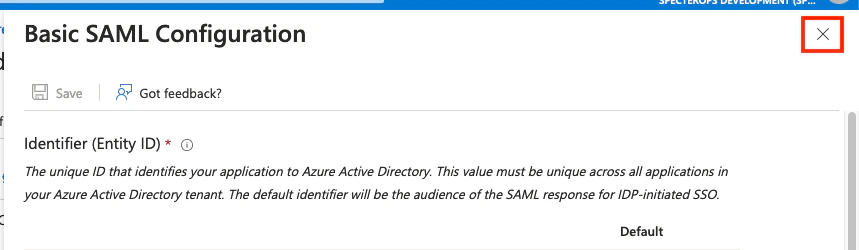
 6. Click the **X** to close the dialog.
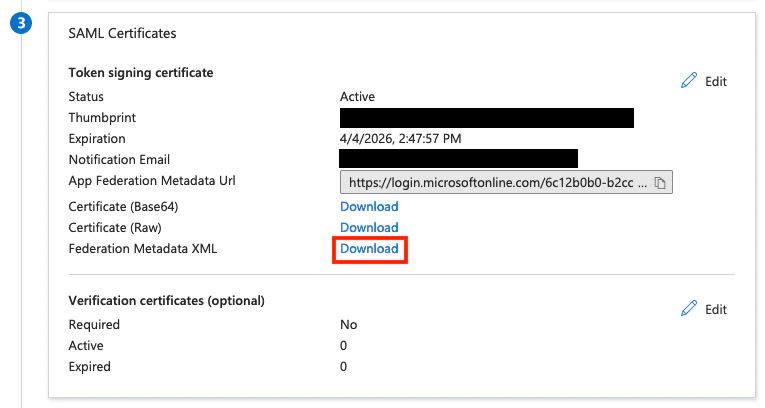
 7. Scroll down to the **SAML Certificates** section and download the **Metadata XML**.
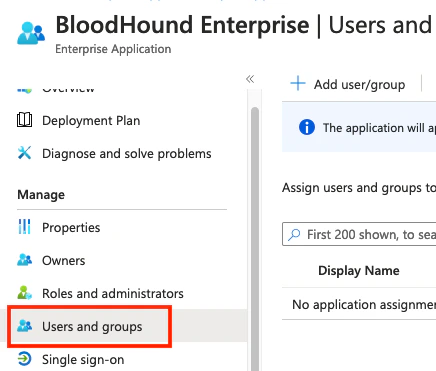
 8. Use the **Users and Groups** section to configure groups and users which you would like to grant access to BloodHound Enterprise.
 9. Use the downloaded metadata.xml file and follow the instructions at [SAML in BloodHound Enterprise](/manage-bloodhound/auth/saml) to Create the SAML Configuration in BloodHound.
## Troubleshooting
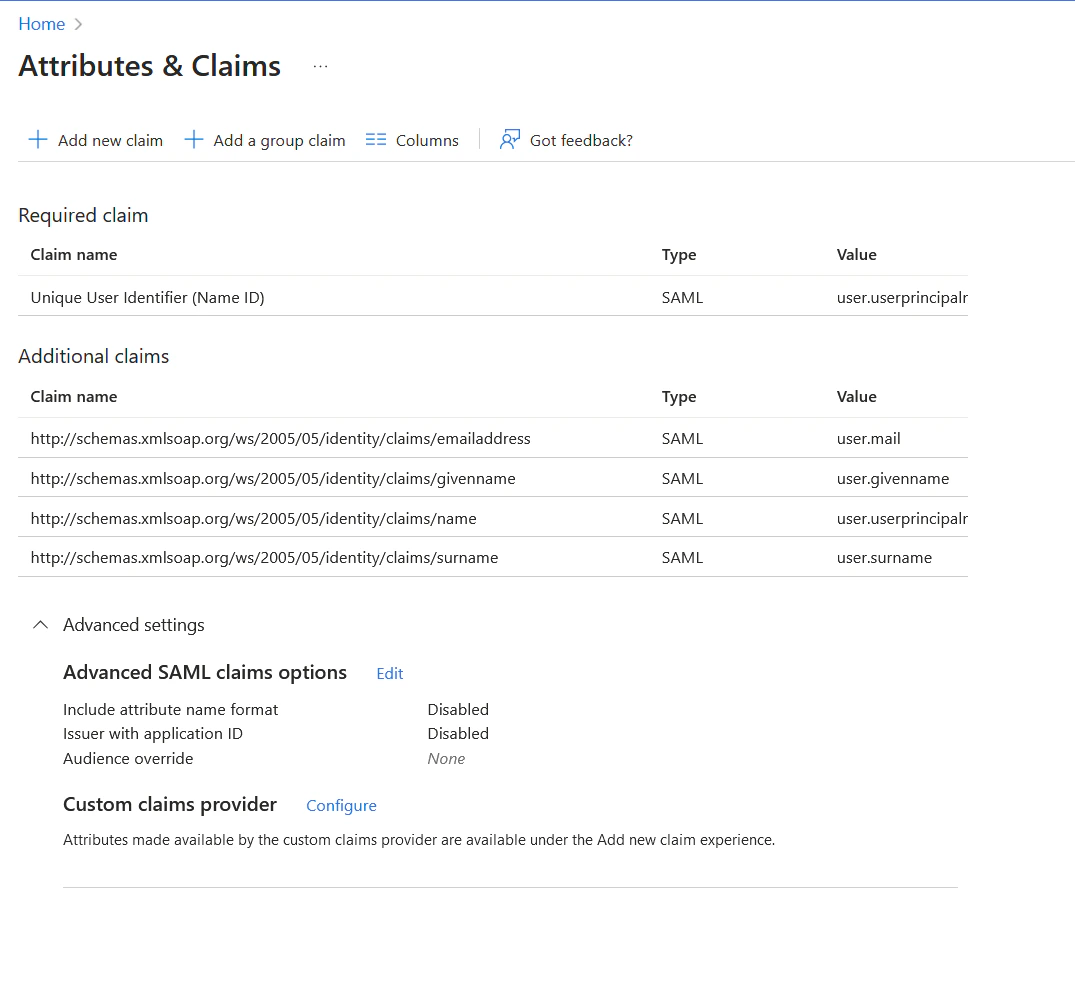
Verify your attributes and claims use a proper schema in the claim name, and that you have a properly mapped claim for "user.mail" as in the example below. An indicator that this is necessary is when an authentication attempt returns the response: "*assertion does not meet requirements for user lookup*".
9. Use the downloaded metadata.xml file and follow the instructions at [SAML in BloodHound Enterprise](/manage-bloodhound/auth/saml) to Create the SAML Configuration in BloodHound.
## Troubleshooting
Verify your attributes and claims use a proper schema in the claim name, and that you have a properly mapped claim for "user.mail" as in the example below. An indicator that this is necessary is when an authentication attempt returns the response: "*assertion does not meet requirements for user lookup*".